How to build a simple six foot tall privacy fence tutorial with pictures
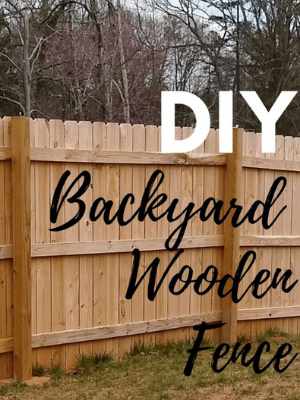
In today’s post, I’ll be sharing a DIY project about how we built a backyard fence out of wood to enclose the area behind our house from start to finish. This was the first time we’ve attempted a fence but I’m so glad we did it.
After talking to a few contractors and pricing out materials we found that we’d be able to do it for about of a third of their cost! It’s just unbelievable the money you can save with some time, a can-do attitude, and YouTube.
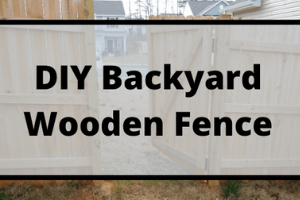
How to Build a Privacy Fence
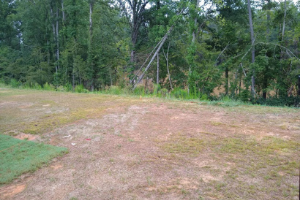
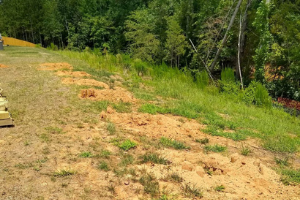
Here’s what we started with. Our backyard is flat near the house, and then begins to slope down at the back towards some thick shrubbery, trees, and eventually a pond.
We decided we would try to put the fence about as close to the beginning of the downward slope as we could, since the land past that isn’t really usable. As I’ve mentioned before, my husband’s ultimate goal in life is to mow as little grass as possible, especially when said grass is on an incline.
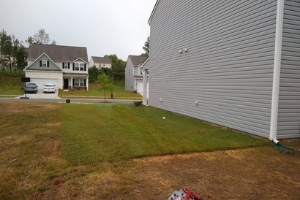
Constructing A DIY Backyard Fence
The first thing we did was measure, of course. Then we used some stakes and orange string we tied it off on the ground to show where we wanted the fence to go and measured it with a tape measure, as laid out here on Lowes.com.
Since we live in a new construction neighborhood with an HOA, they have pretty strict rules regarding fences. So in order to abide by those rules we had to draw out our plans and submit them for approval first.
While waiting, we did some math and priced out materials, as well as got a few quotes. As it turns out, we were going to need over 150 linear feet of fence, including a gate for each side of the house. That meant that pretty much every quote came in at over $3,000!
Now, I understand you have to compensate professionals for their work. They deserve it! But since we are weirdos who enjoy doing these kinds of things, had the time, and felt like we could manage a pretty decent fence for much less, we decided to just go for it ourselves.
After a few weeks we were notified by the HOA that the project was finally approved, yay! So then we cleared a weekend and got to work.
Digging the Fence Post Holes
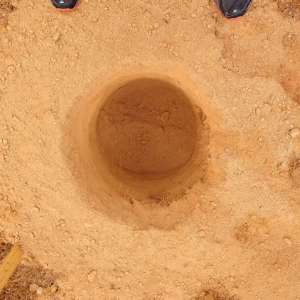
Every fence begins with post hole digging. We learned we could rent an auger from a local tool rental place for around $100 for the day. I highly recommend going this route.
$100 seemed like a lot to me at first, but there is a line between saving every penny and doing hours – maybe days – of back-breaking work. We’re frugal, not insane! In the end, it only took a few hours and we returned it early the same day, so they knocked off half the rental price! Another perk of shopping at a small, local business!
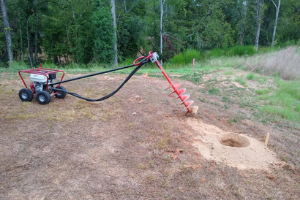
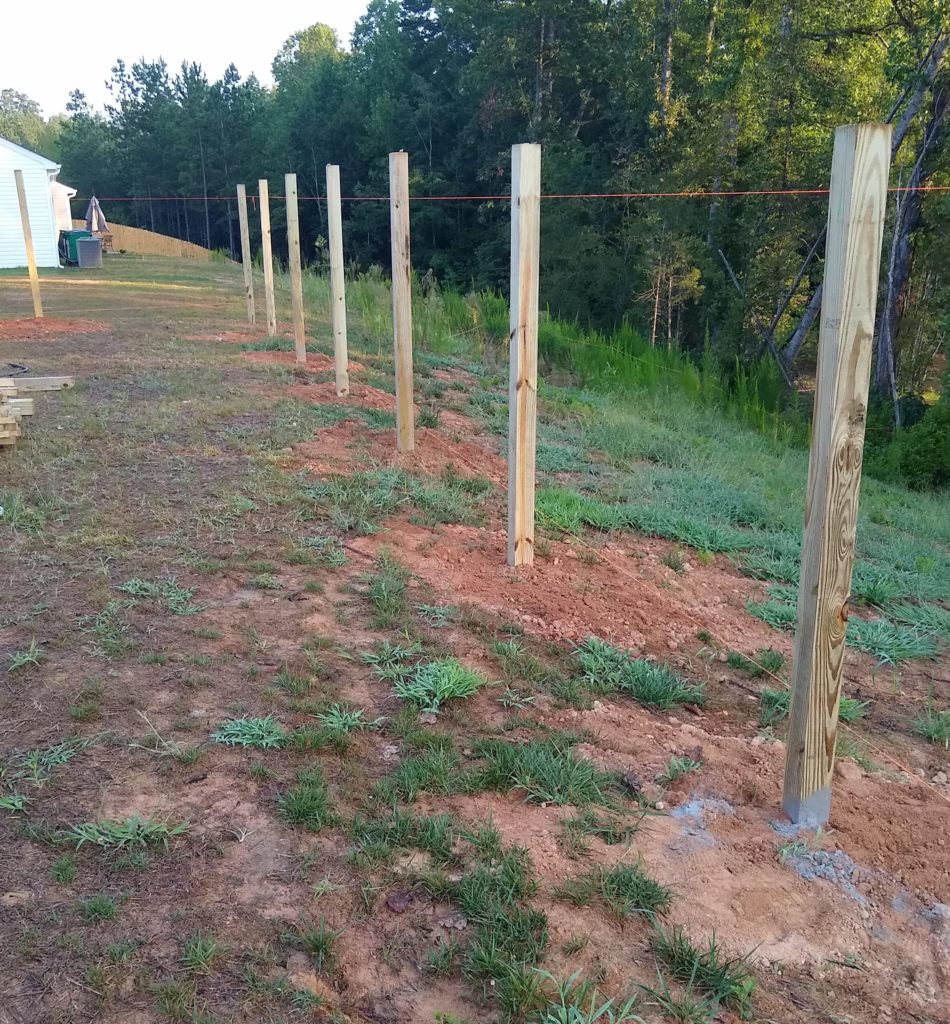
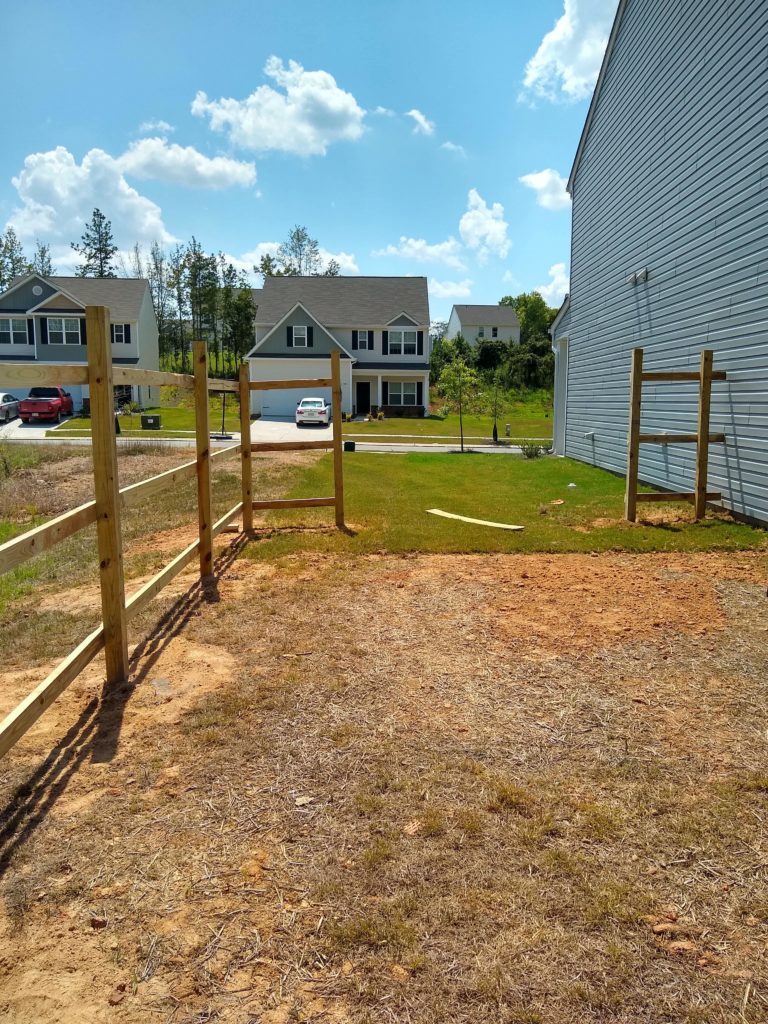
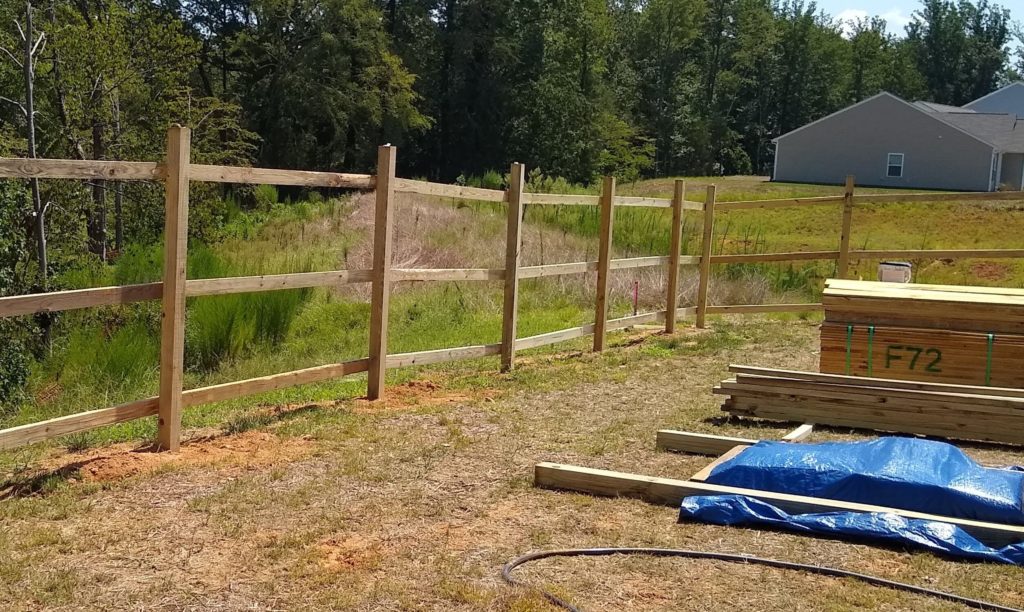
In total, we dug 25 post holes with that machine, each hole coming in at around 2 ft deep. The posts we planned to use were 8 ft long, resulting in a fence that would be 6 ft tall. This was the tallest our HOA would allow. Each post was set 8 ft apart, with some variation along the sides of the house to allow for the gate.
Related DIY Renovation Posts:
Setting Up the Fence in the Backyard
Once that was finished, it was time to fill the holes with bags of concrete mix, set the posts in, fill the holes with water, and leave it to harden for few hours.
I like this post 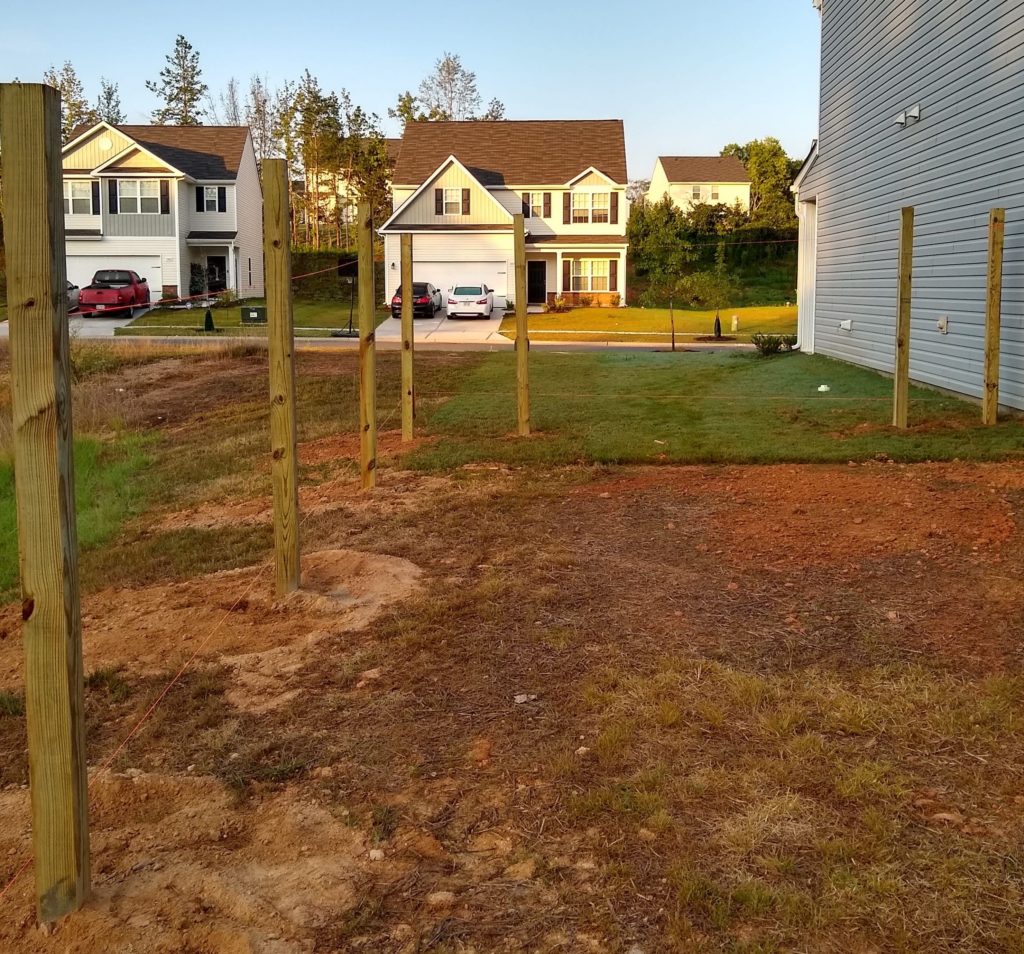
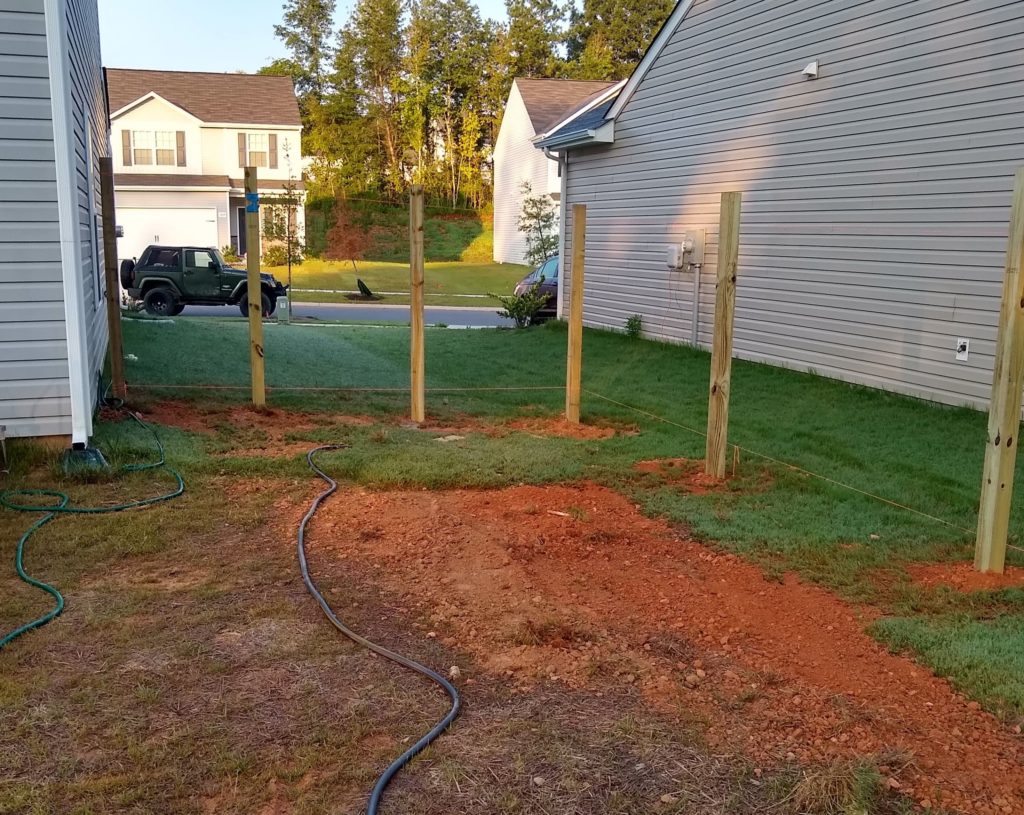
After that was complete it was time to attach the 2×4’s. We had each board meet at the middle of each post, and used 2 inch wood screws to secure them.
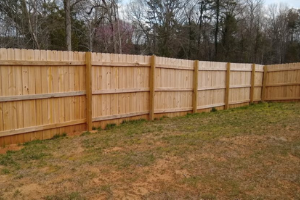
Then it was just a matter of lining up the pickets, and attaching them to the 2×4’s with more 2 inch wood screws.
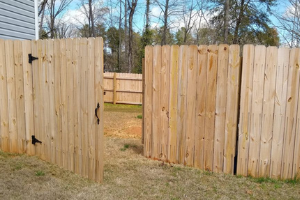
We saved the gates for last. We wanted a 10 ft gate on the one side so that my husband could pull a trailer through it. However, the other side of the house has the only outdoor water spout. So we figured we’d better put a smaller 4 ft gate on that side too for practical purposes.
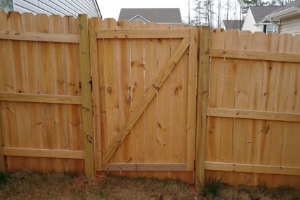
Now that the gates are installed the last thing to do is seal it! It’s good to let it sit at this stage for a week or two before staining and/or sealing to give the wood some time to settle and become more of the same color.
Concluding the DIY Backyard Wooden Fence Project
Overall we’re so pleased with the results of the fence and our new private backyard. What do you think? Is this a project you’d tackle on your own? Let me know in the comments!
Articles Related to Home DIY Projects
- Build Hexagon or Honeycomb Shelves Yourself
- Painting Plant Puns on Pots
- Home Renovation Projects the Add Value

Good to know that works too! I learn so much from you as well! Keep it up great post.
Your new fence looks great! Honestly, I would have never thought to make a fence myself, but you made it look like a project I could do at some point. That post hole digger was a good choice, I couldn’t imagine digging that many holes by hand.
Hey thanks Sarah! Yeah surprisingly it wasn’t that technically difficult, but it did take some serious sweat equity. And it was super hot when we did this haha! >_< But I bet you could tackle this project though, a new fence around your garden maybe? Would love to see it!