A step by step tutorial on how to change your car’s oil – by yourself!
Here’s a simple step by step guide on how to change the oil in your car. Now obviously there are tons of cars out there and each one is going to be a little different, but this should provide a general idea to help you get started. And luckily, I happen to have a pretty common car – a 2014 Ford Fusion – so I hope this will be applicable to many of you.

Since we’re all about being frugal here (it’s in the name after all!) I just want to point out that while this won’t always save you money, since you can take your car to one of those “all oil changes, all the time for $30” places, there is still some value to knowing how to change your oil yourself.
Benefits of Changing Your Oil Yourself
- You get the satisfaction of a job done well all on your own, and if you’re in the financially independent community that’s always #goals.
- When you take your car somewhere, there’s the chance they could make a mistake (intentionally or not) and it’s good to know the basics so you can either fix it or avoid the risk altogether by DIY. Plus I know I’m not the only one who hates having to sit through the upsell spiel of “this is wrong, you should fix this, this is really wrong” etc. and having to say no while not even knowing if it’s true??
- It takes way less time than having to take your car to a place and sit around in the waiting room until they eventually get to you.
- You can probably still save yourself $15-$20 by finding a good deal on the oil and filter together.
Still unsure if it’s a good idea or not? Don’t just take my word for it, check out even more reasons over on Autoblog.
Before we get to the steps, here’s a list of the supplies you need. Remember that you can borrow a lot of these things or find them for cheap at yardsales/goodwill/craigslist etc. It might feel like a lot to gather all of these supplies at first, but once you have them you have them for life.
*Please note, these are affiliate links, so if you buy through these I may receive compensation from the retailer at no extra cost to you (which would be awesome and thank you!!)*
Things You Will Need to Change Your Oil:
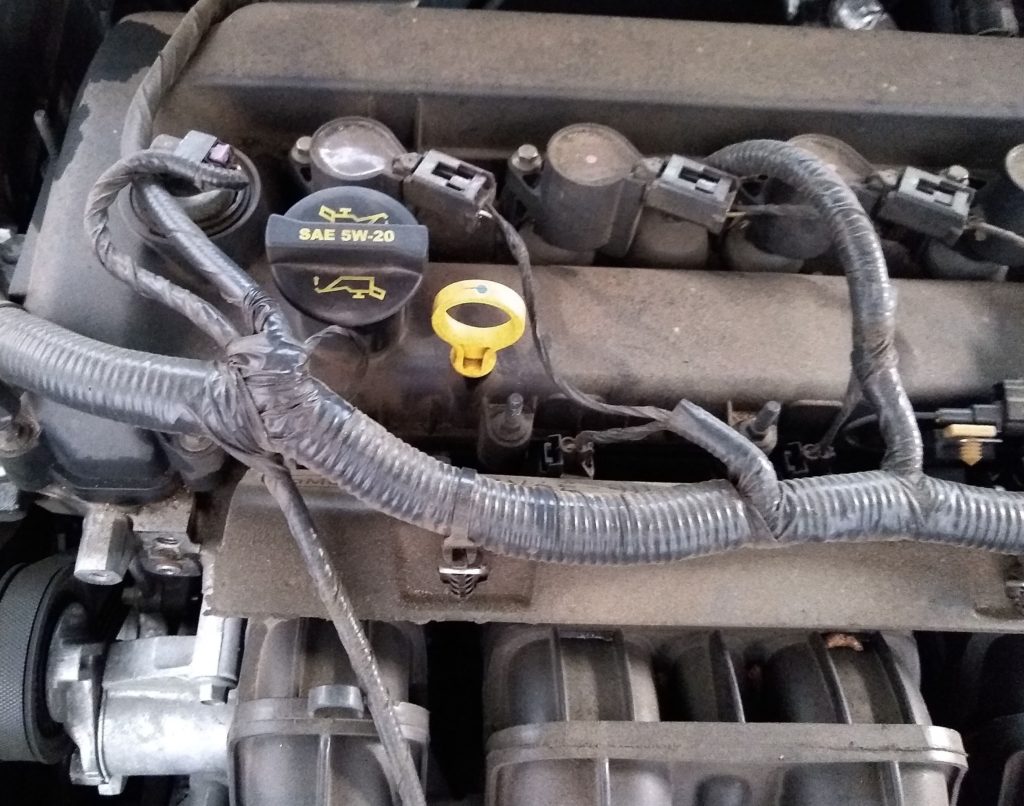
Oil – Check this before you start. Your engine will say right on the front (or in your owner’s manual) what kind you need. As you can see from the picture, my car takes 5W-20 like this:
Also your owner’s manual will tell you how much oil the engine takes, so check this and you’ll know how much to buy.
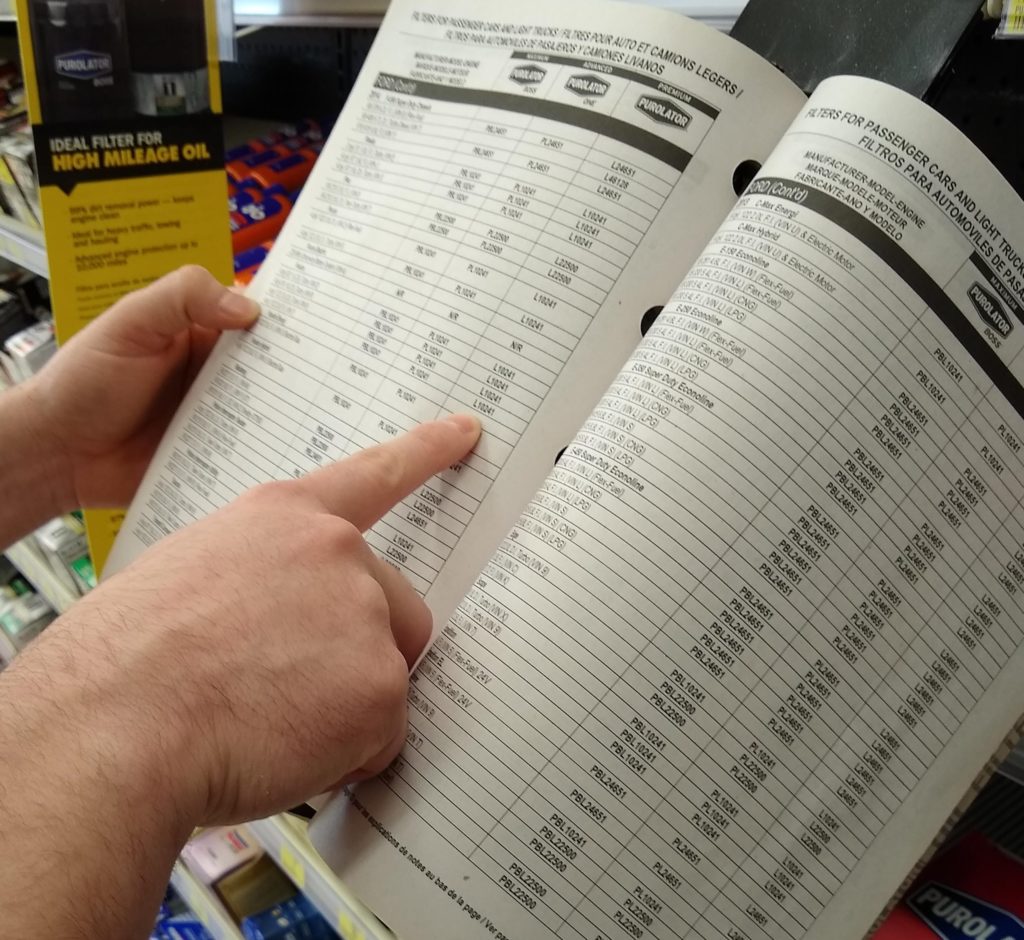
Oil filter – You can look this up with a quick online search, or your auto parts store will have a book that you can flip through like we did. Just find the make and model of your car and it should have a list of years that need which part number.
Catch pan – similar to this one:
Jack – we have one like this:
Or you can use these car ramps:
Jackstands – ALWAYS use for obvious safety reasons, don’t ever depend on the just the jack, it’s on wheels for goodness’ sakes!
Socket wrench and corresponding socket that fits your car’s oil plug in order to remove it:
Disposable gloves:
Pliers/Tool to remove oil filter and reinstall new one:
Funnel:
How to Change Your Oil
First you’ll need to be able to work on the car on a flat surface, like your garage. Even so, it’s still prudent to put on the emergency brake because you just don’t want to take any chances when it comes to the car rolling off the jackstands or ramps.
Some other Car Care and DIY Related Posts:
Make sure the engine is cool as well, meaning if you just went to the store to get the supplies, you’ll need to wait once you get back until the engine has had some time to sit.
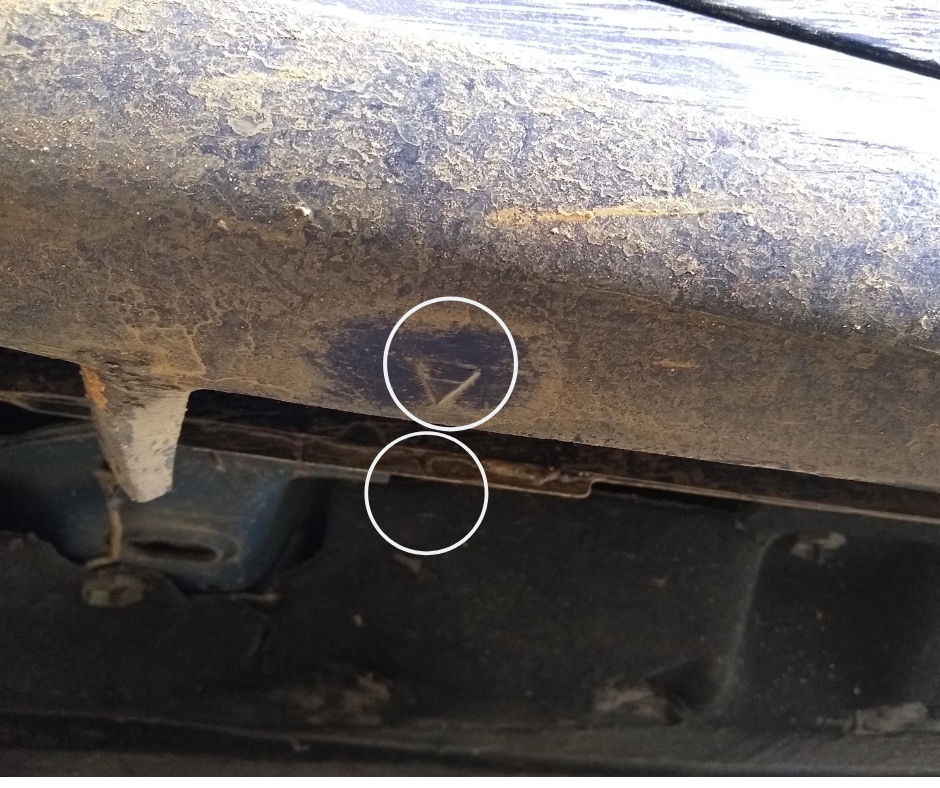
Jack up the car and place jackstands. Most cars will have this helpful arrow underneath telling you where it’s safe to place the jack (top circle in picture).
You only want to use these specified areas because some parts of the car are not built to hold all of the weight. Don’t put it on the arrow itself but the metal joint it’s pointing to (bottom circle in picture). Also, wow it’s dirty under here, time for a bath soon!!
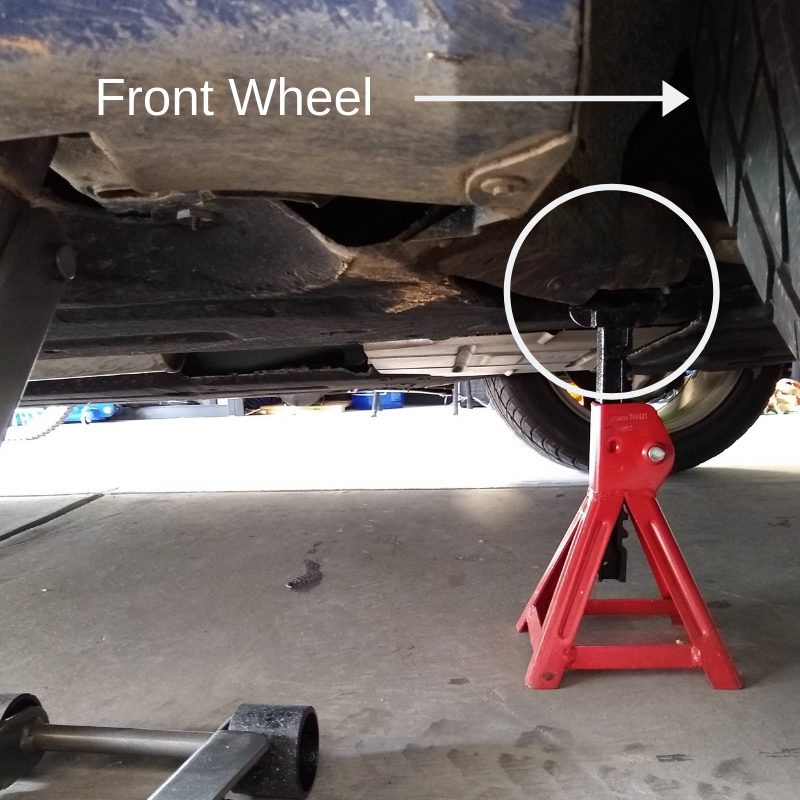
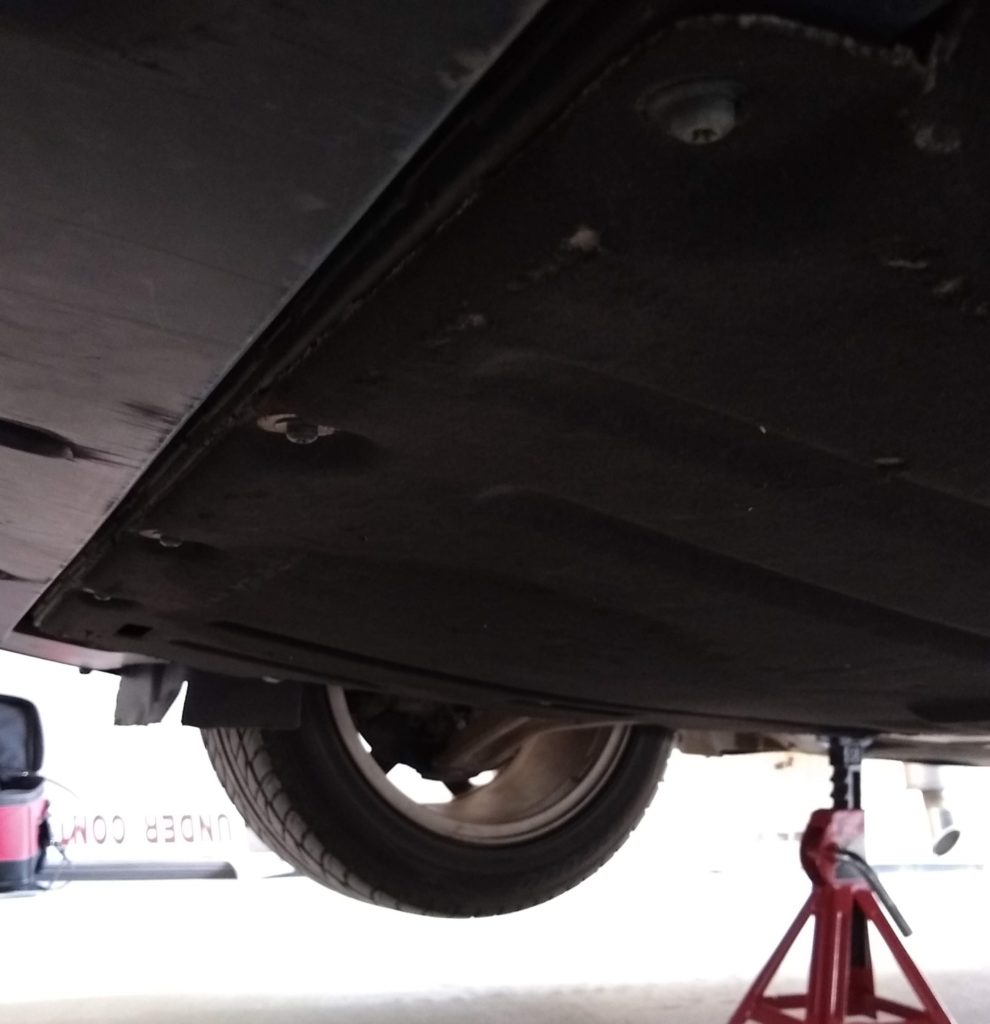
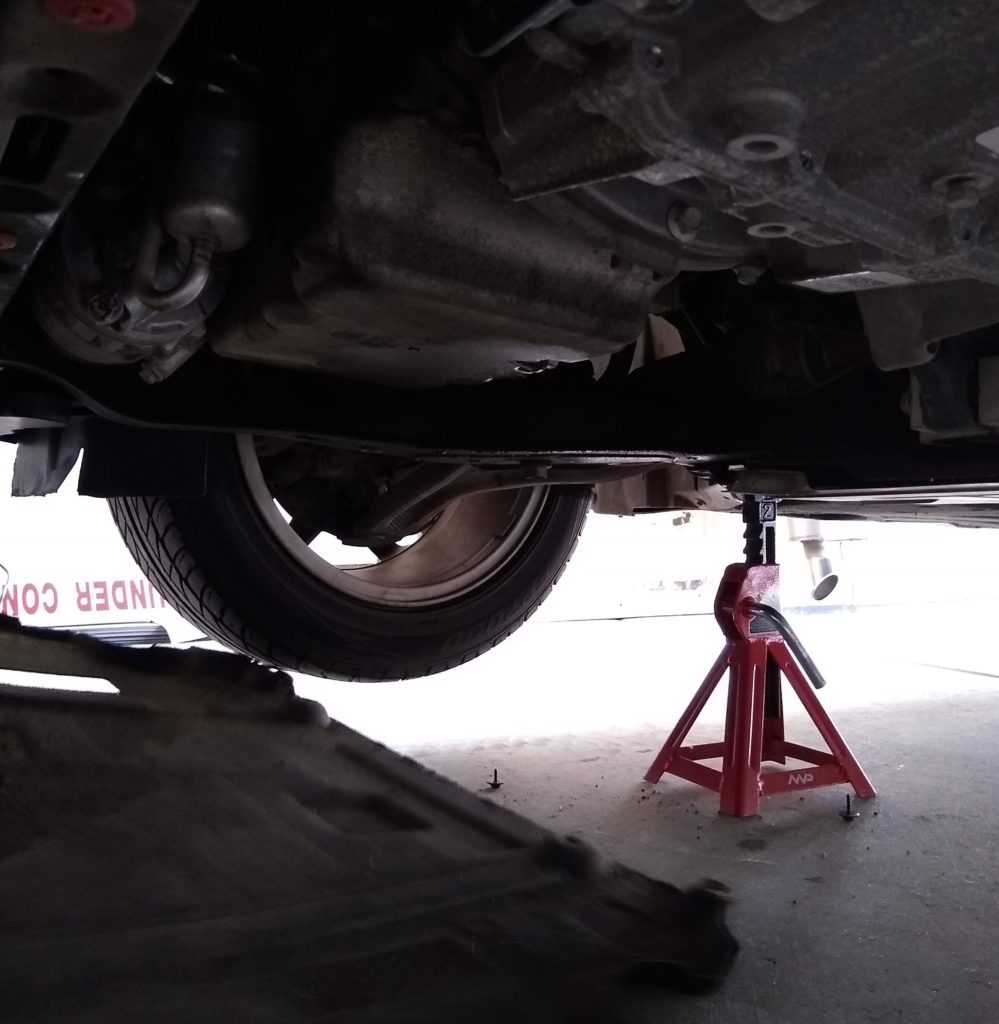
Place the jackstands somewhere just behind the wheels where they will sit securely.
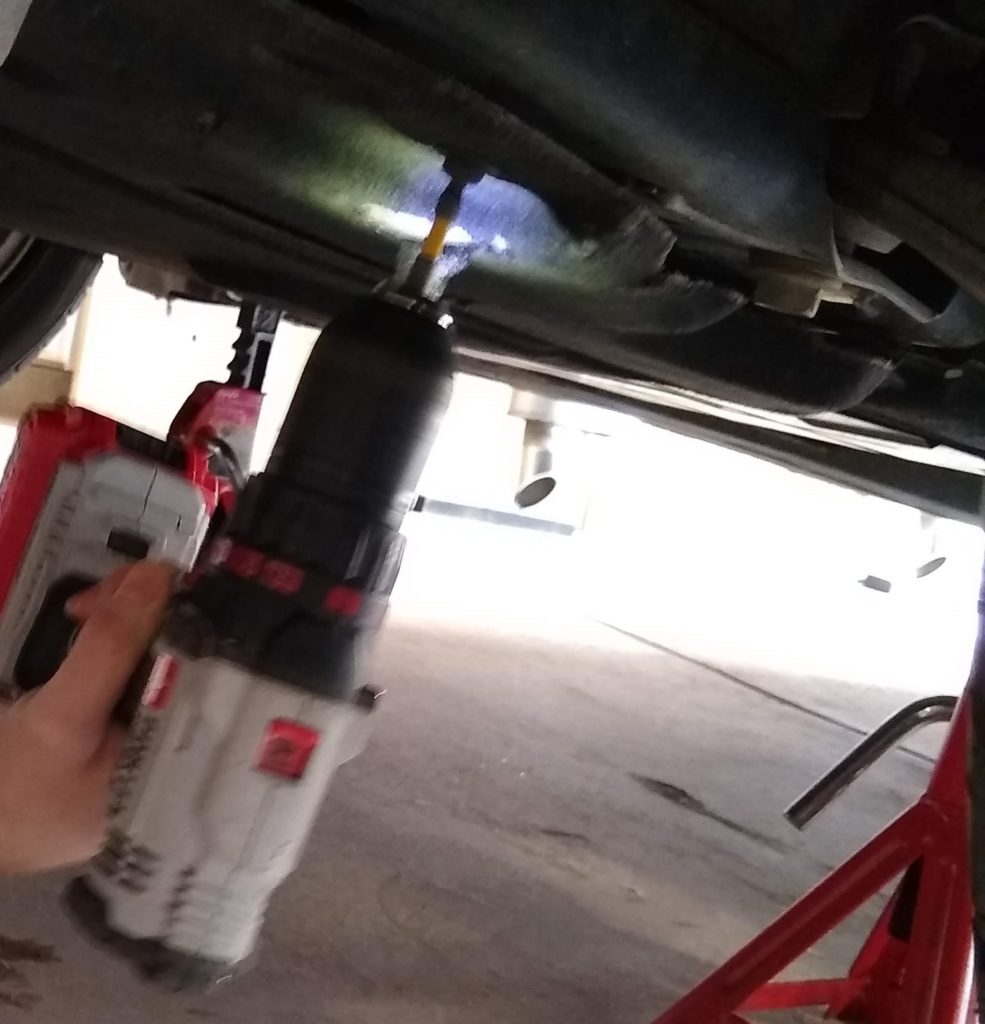
Remove the panel -My car had this extra step which not all cars will have, but it’s fairly simple using a drill to unscrew the bolts holding this lightweight panel to the underside of the car.
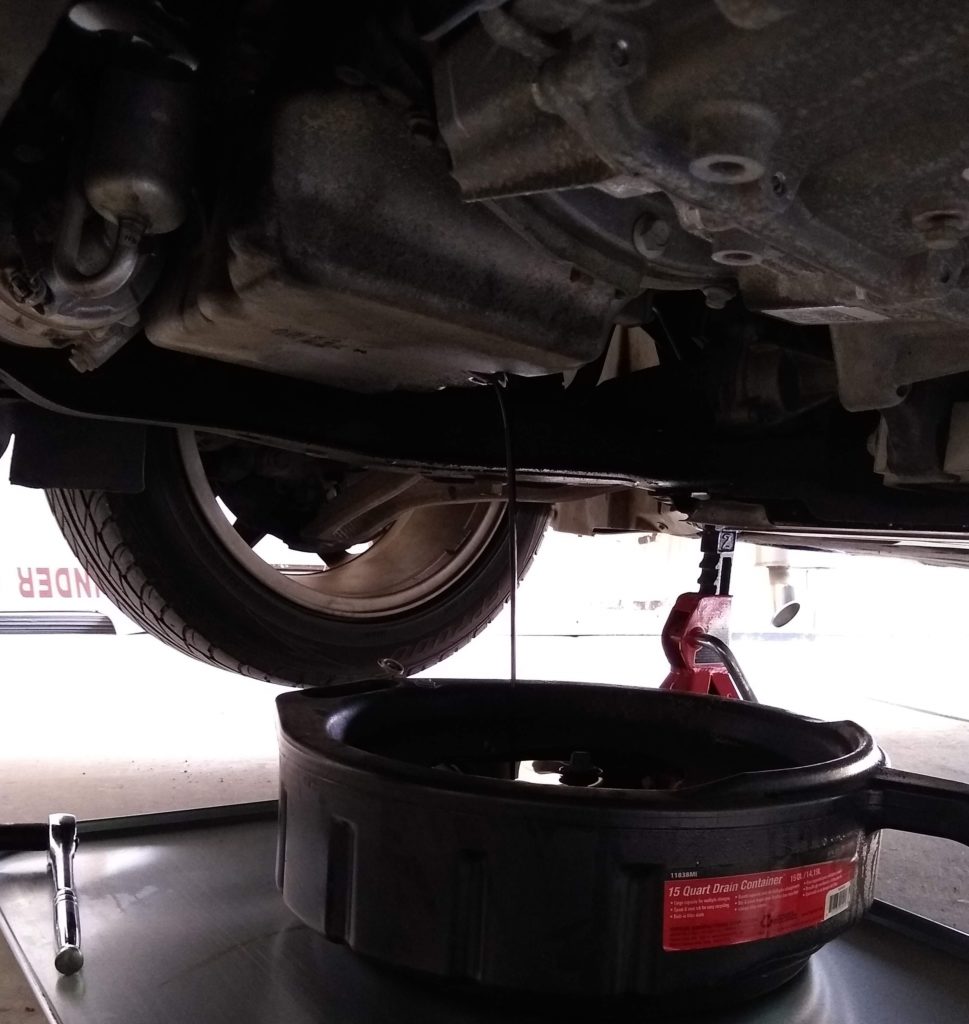
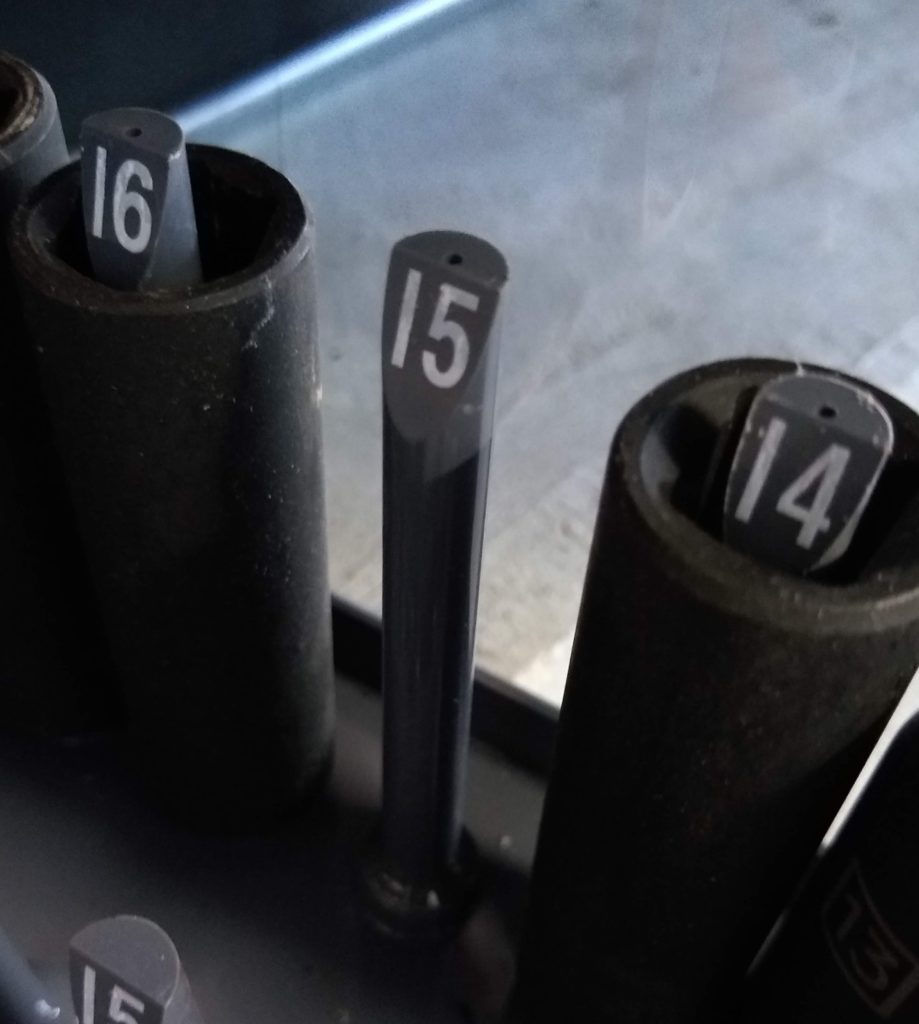
Place the oil catcher under the engine. Loosen oil plug with socket (we used size 15) until you can unscrew it the rest of the way with your hands – be careful because here’s where the oil will begin to drain out, potentially all over your hands.
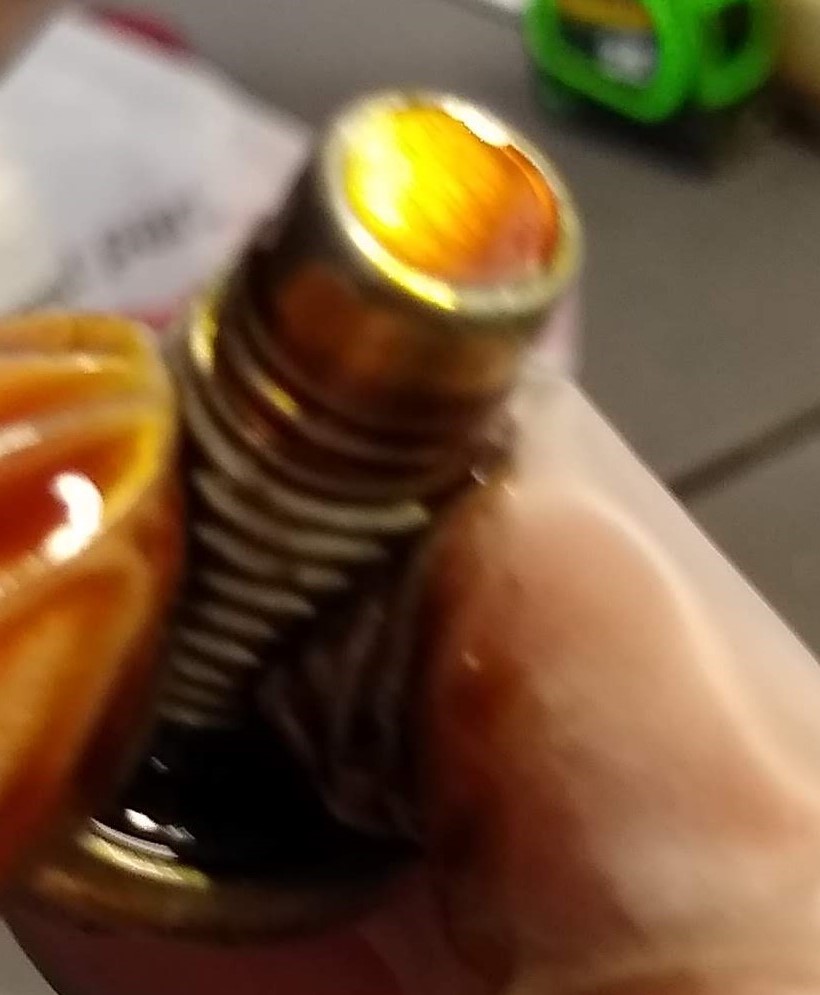
While you’re waiting for it all to drain, check the plug while cleaning it off for any metal shavings because this can indicate problems with the engine’s internal components.
Once oil begins to just drip, wipe out the hole and return the plug, but don’t over tighten.
Now Let’s Move on to the Oil Filter
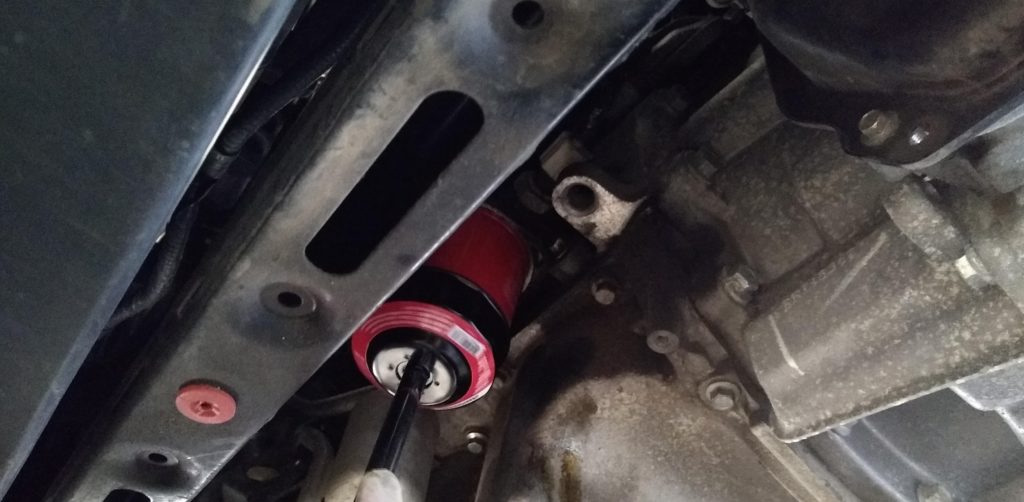
Loosen the oil filter with pliers or an oil filter removal tool then remove the rest of the way with your hands and lookout, just like with the plug it will be messy. Wait again until the oil is just dripping.
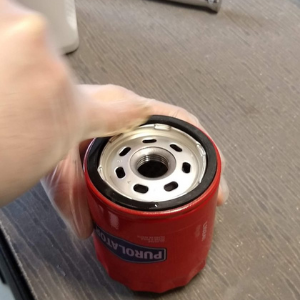
Prep new filter by putting some of the new oil on the rim.
Install the new filter, tightening first by hand, then with tool.
Refilling the Engine with New Oil
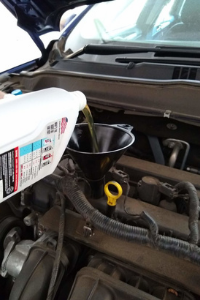
Remove the cap from the top of the engine and place a funnel. Fill with oil.
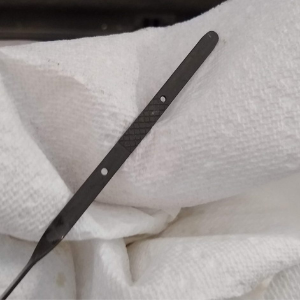
Check the dipstick to make sure it’s filled to the proper level. For mine, it’s anywhere in this crosshatched pattern between the two holes.
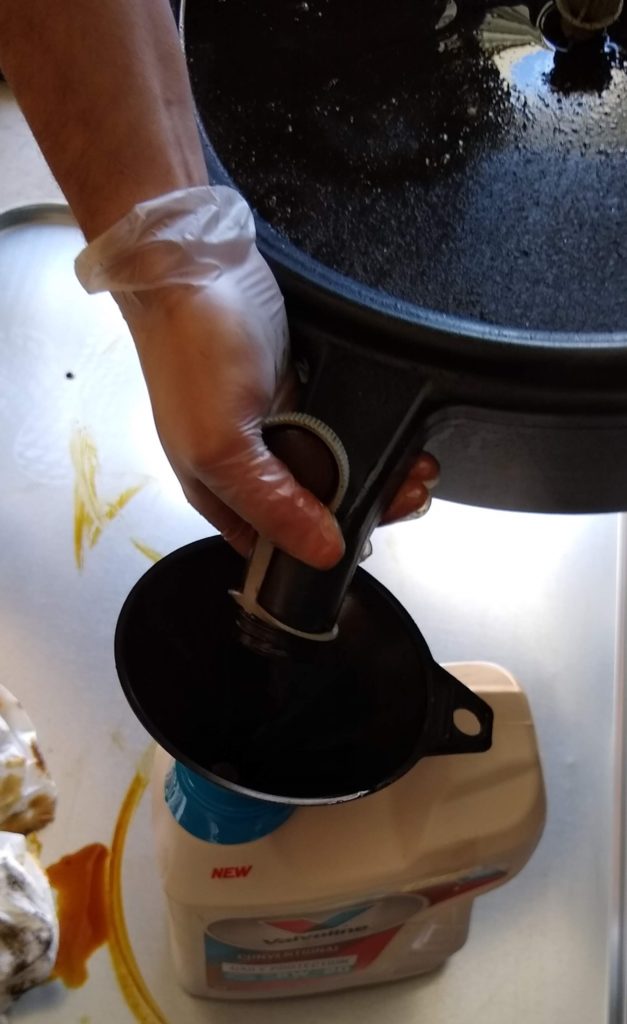
Transfer the old oil from the catchpan back into your now empty container that held the new oil. You can take these to most auto parts stores and they will dispose of them for you for free or you can take them to the designated area at your local waste facility.
Check local listings and NEVER throw it out in your regular trash as it’s harmful to the environment and illegal.
Final Thoughts on How to Change Your Oil Yourself
Now all that’s left is to clean up and take your car down from the ramps or jackstands. That wasn’t so hard, right? I hope this guide on how to change your oil will help you to feel more confident when it comes to some basic DIY car care. Cheers!


Leave a Reply